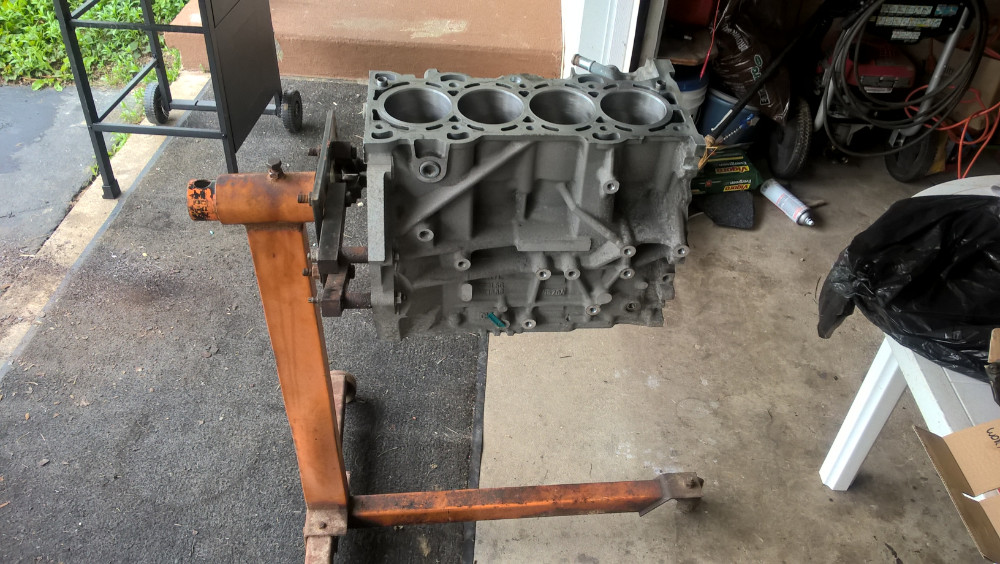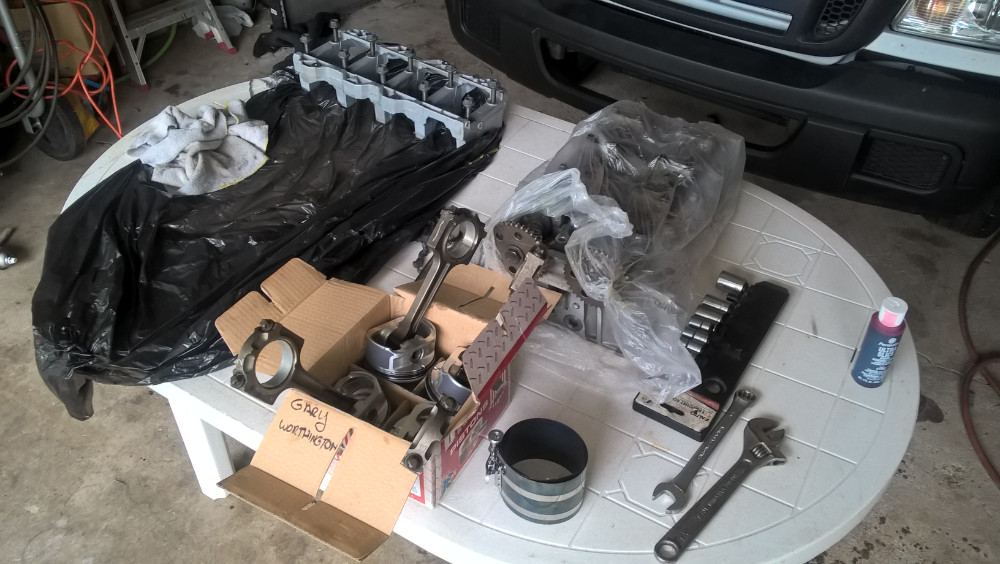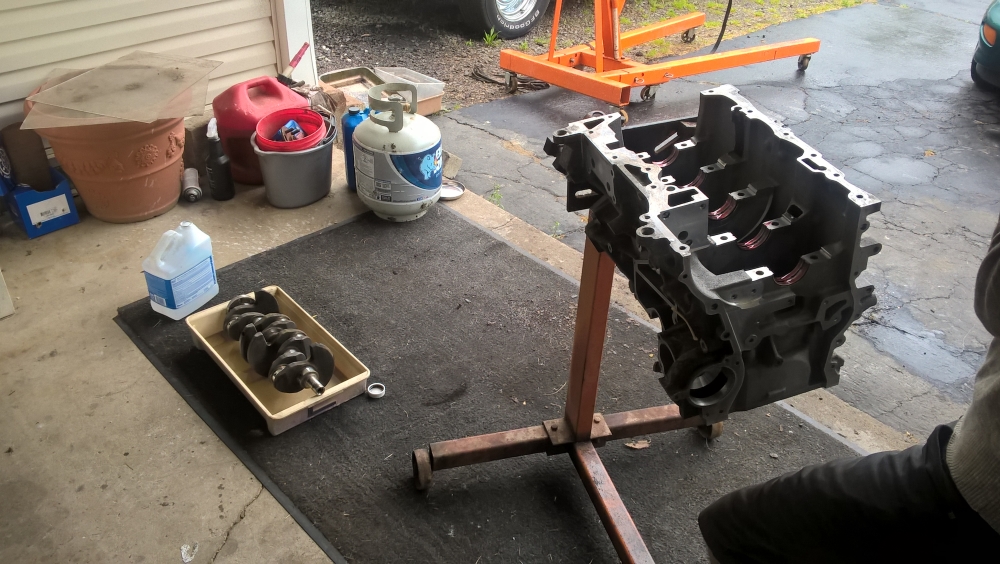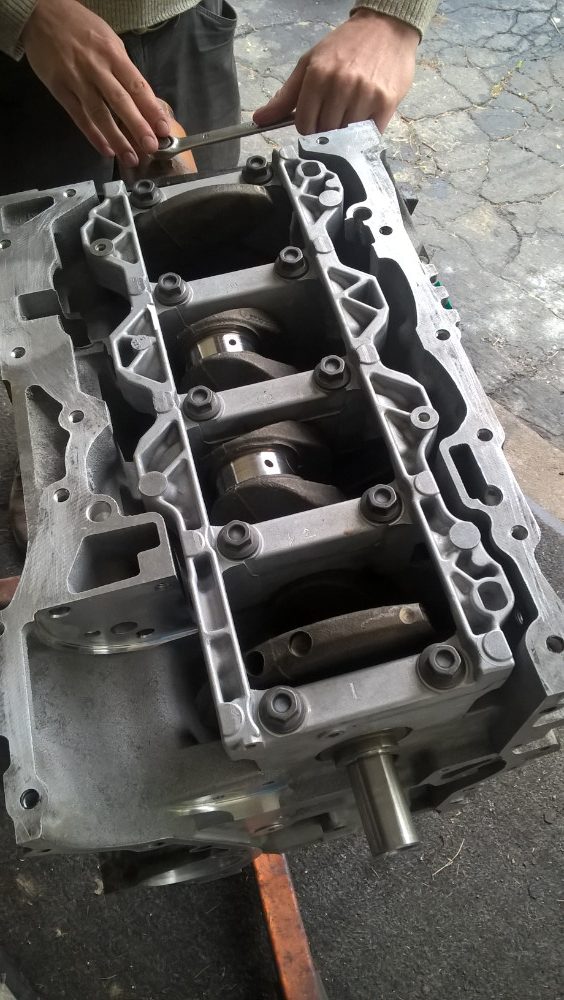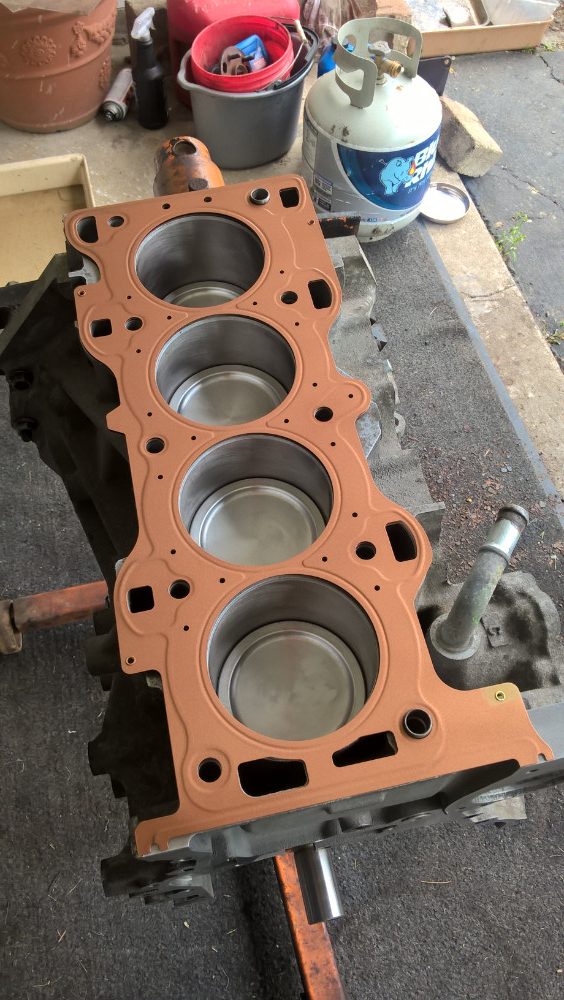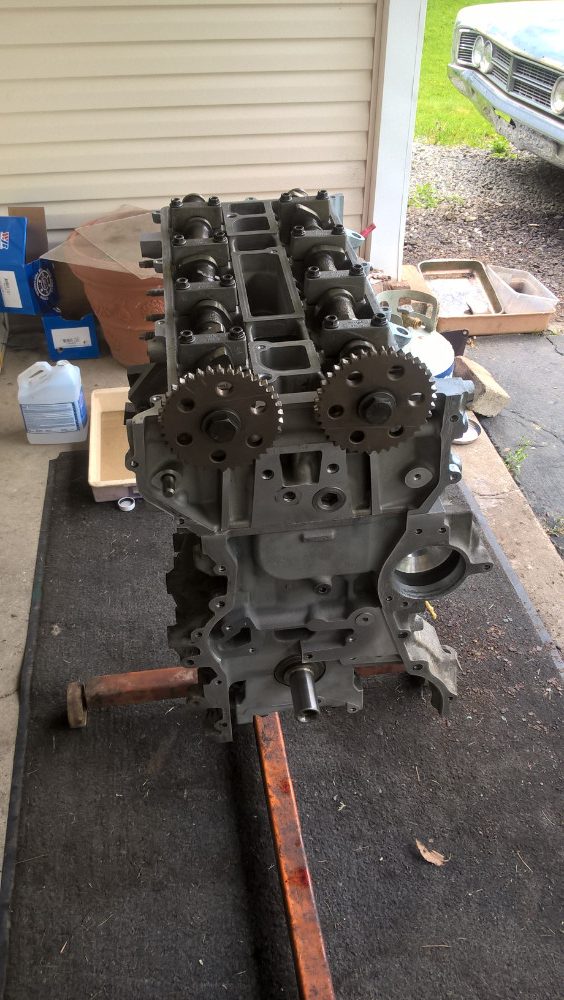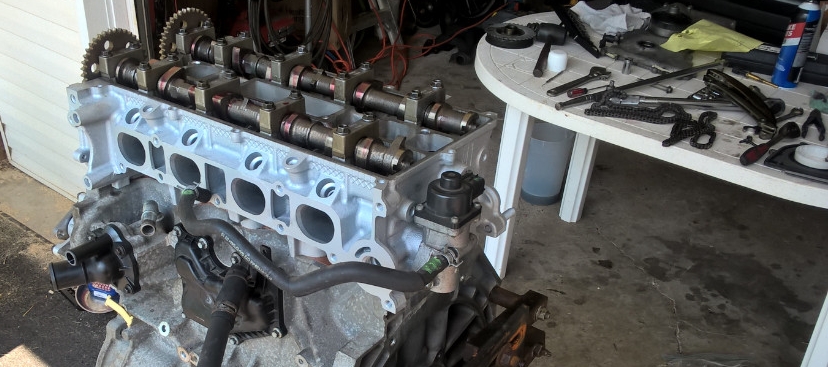
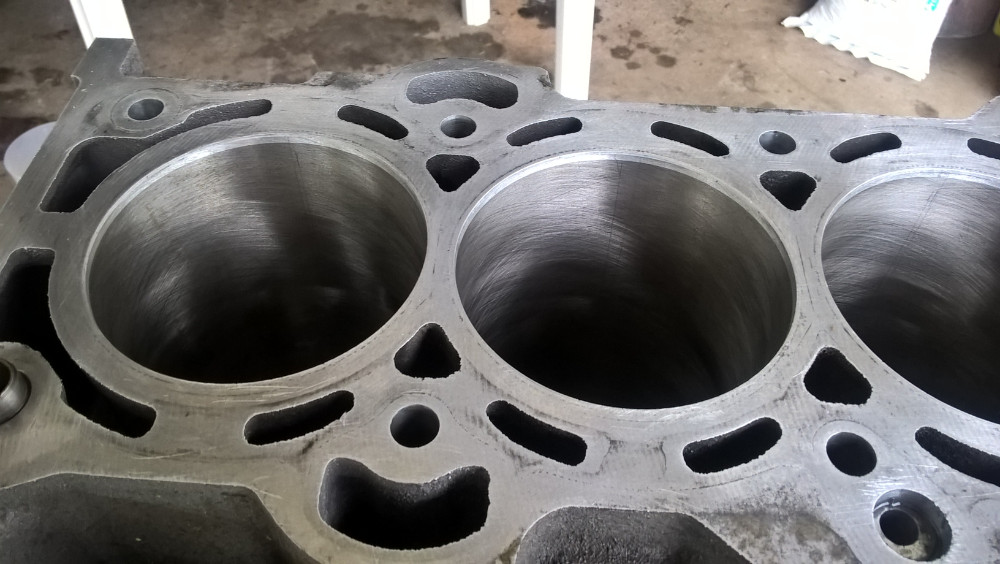
 Rebuilding a car engine from the ground up was always something that was on my list of things to do. I have rebuilt gas and diesel tractor engines, many, many small two and four stroke motors, and an outboard boat motor. Lucky for me, a friend (Gary) had a problem where the engine in his Ranger was burning a significant amount of oil. The full rebuild came when the number 4 piston melted in the engine and temporarily created a rather large paper weight out of it. He pulled everything apart, sent it out for machining, bought the parts, and I volunteered to help with the reassembly and re-installation. During the assembly process it was a fantastic opportunity to see what a great machine shop can do. The cylinder walls were some of the most beautifully finished I have ever seen, better than new!
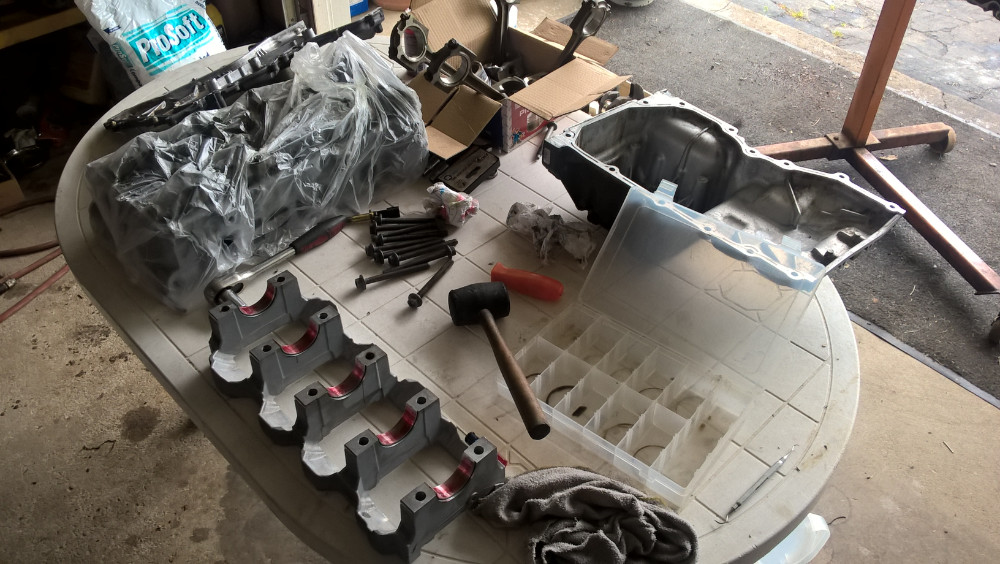
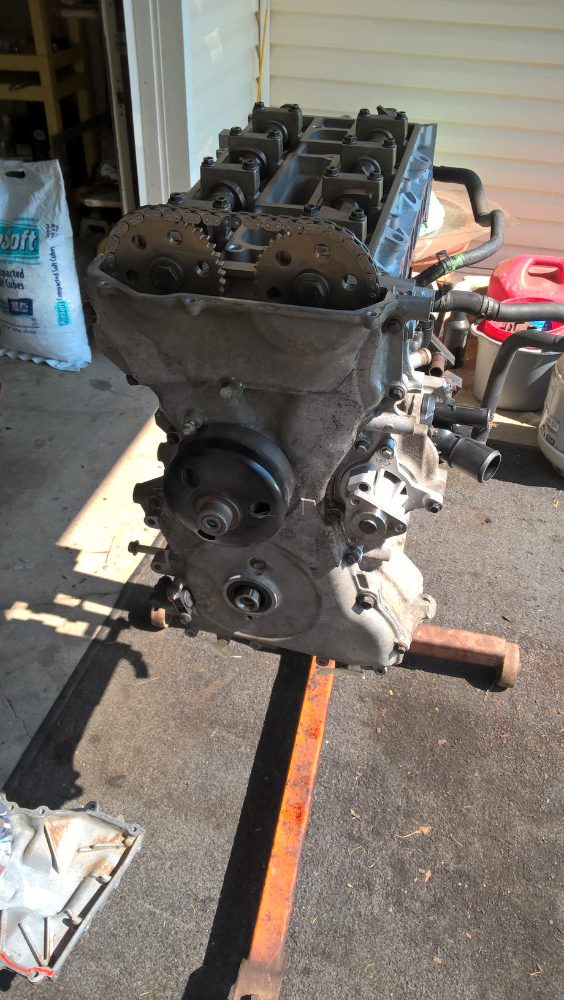
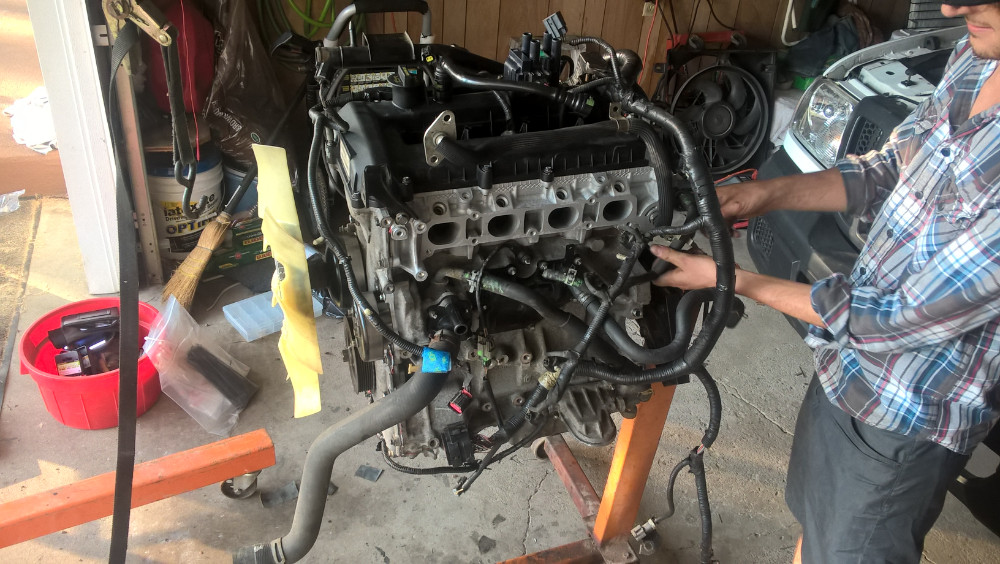
 There isn’t a whole lot to say about an engine rebuild, other than use a lot of assembly lube, torque and double check your torques, and mark your bolts. As we went through the install process, I forgot whether we torqued down the oil pump. We wasted about a half hour disassembling the crankcase just to find that everything was torqued. We were happy to know everything was done right, but this experience reminded us of one very important rule–mark down what you did and take your time!
 I definitely encourage you to check out the photos. The process was a lot of fun and full of challenges! Many people would have hit a wall when the realization came about that special tools are needed. Luckily the two of us were resourceful!
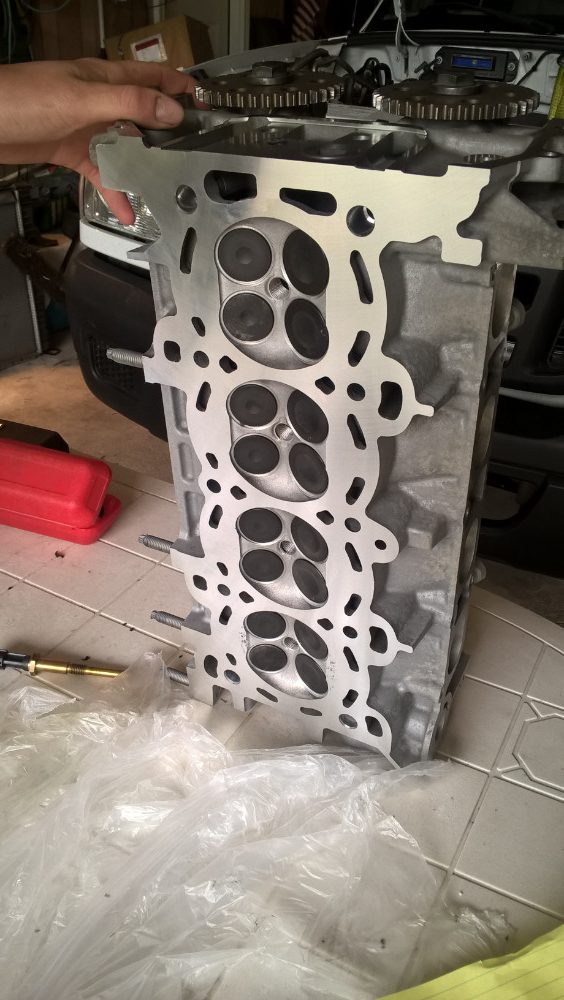
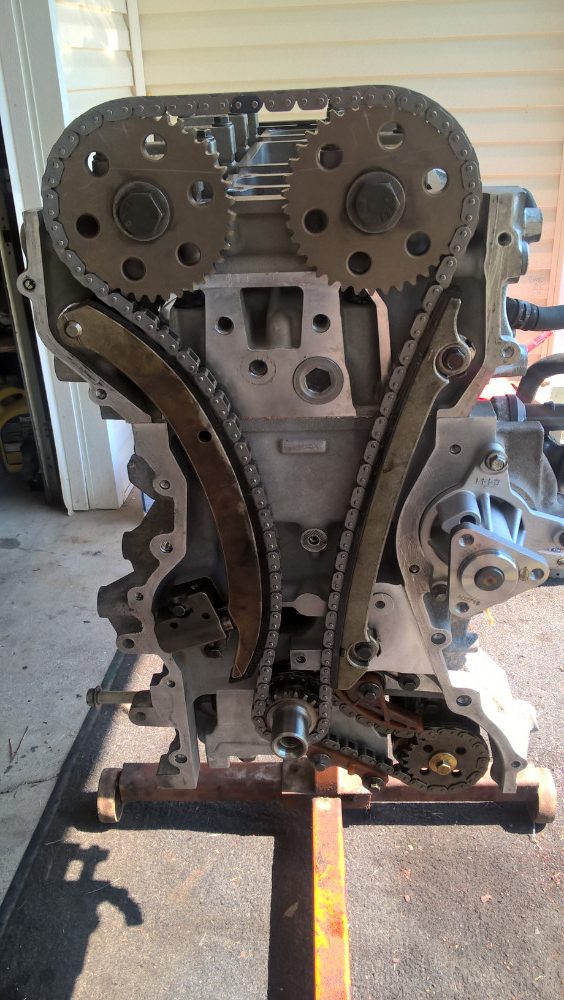
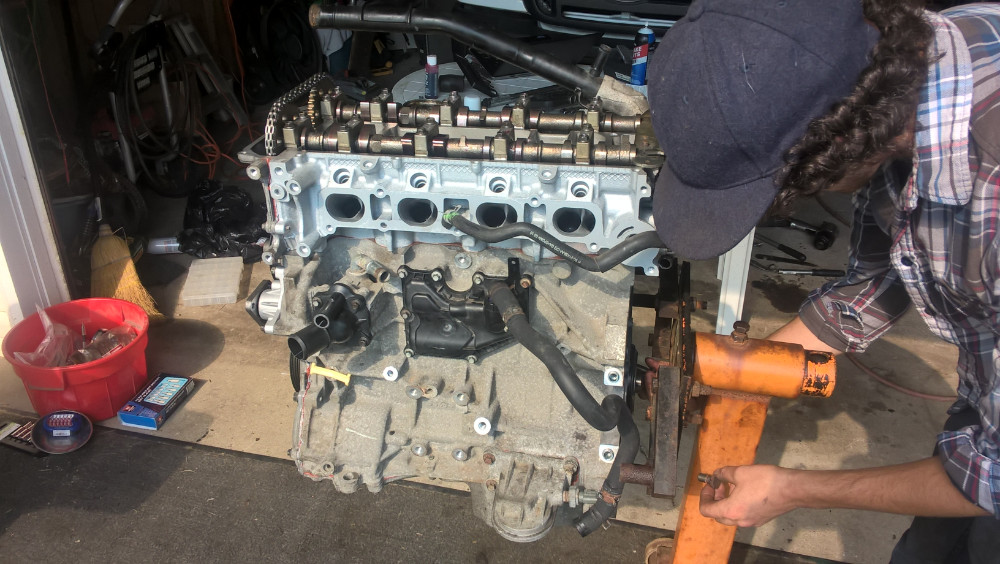
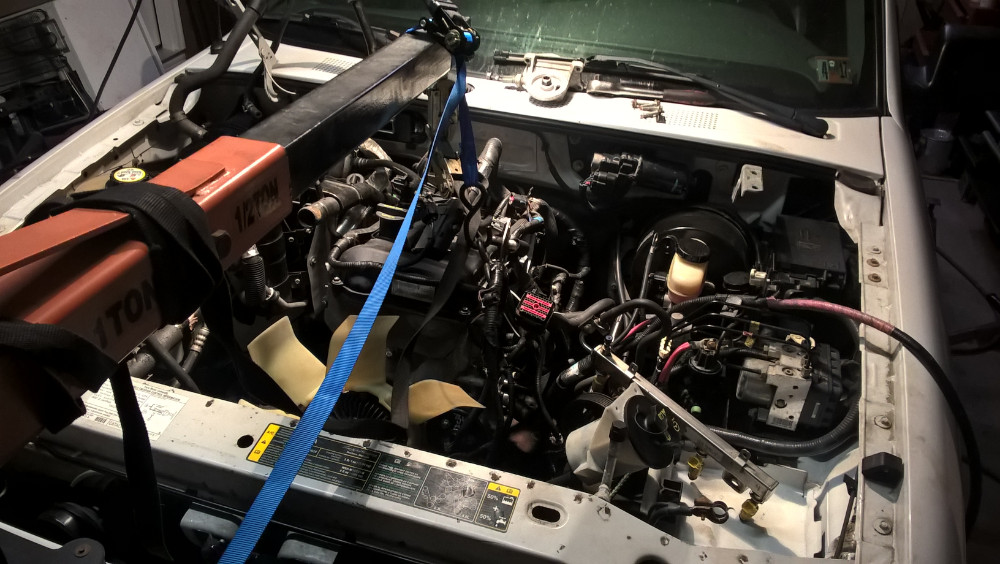
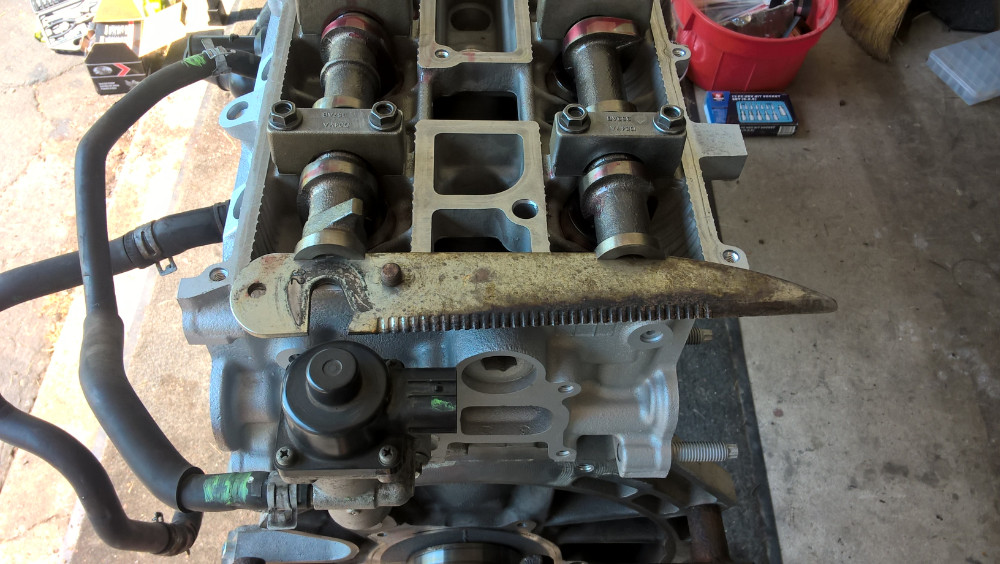
During the engine assembly process, it is necessary to set the timing, typically there is a tool that would be installed into the timing slot on the back of the cam shafts, but we didn’t have one available. After hunting around the house, we found a pair of hedge clippers. We quickly disassembled them and found that the blade was the *exact* thickness that the timing tool would have been. We sat back for a few minutes to admire this finding and then continued with the re-assembly.
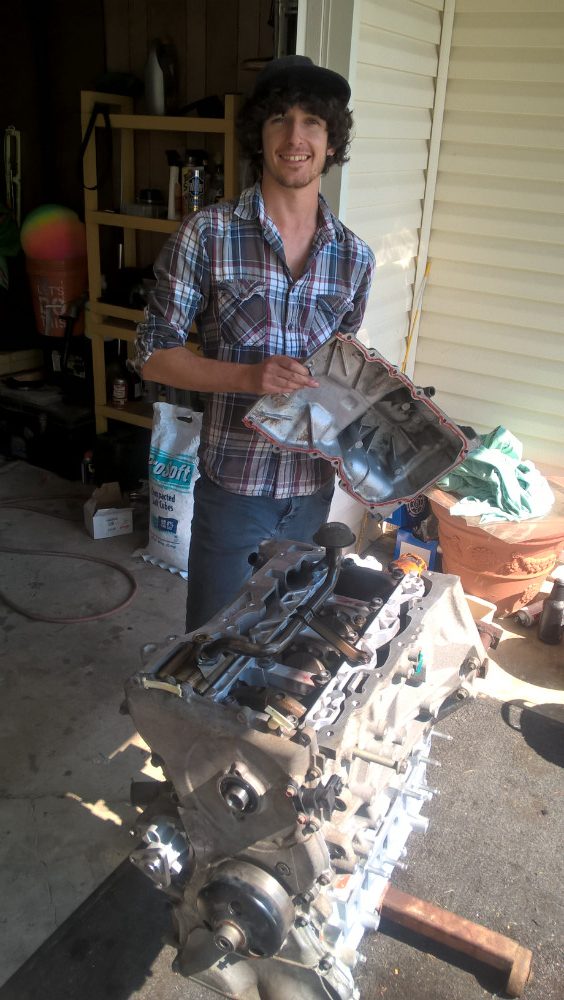
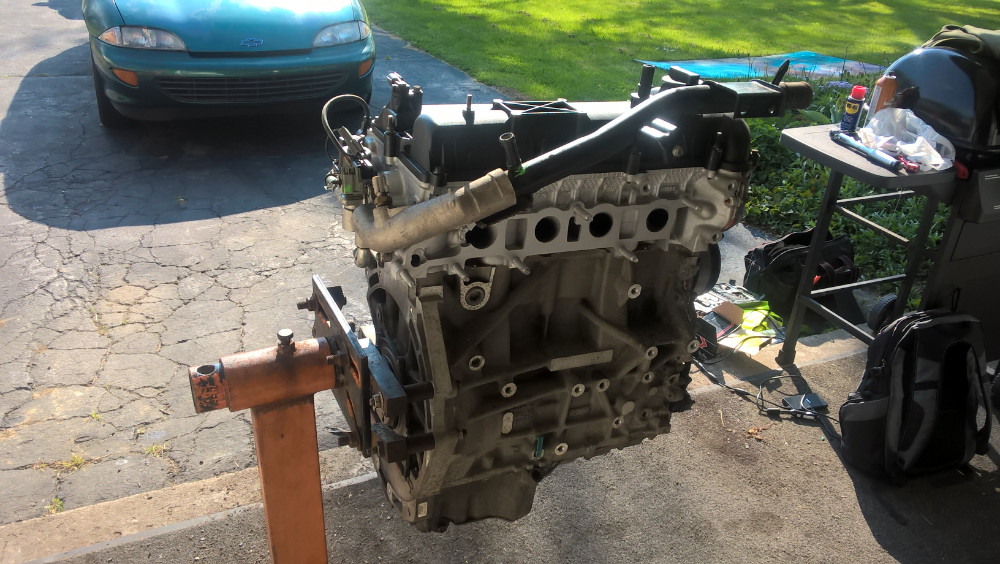
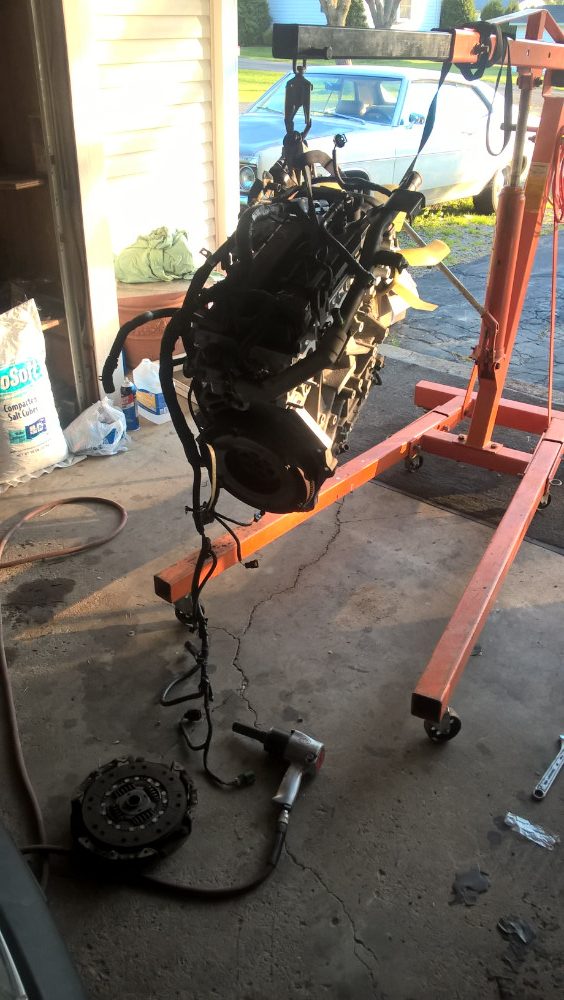
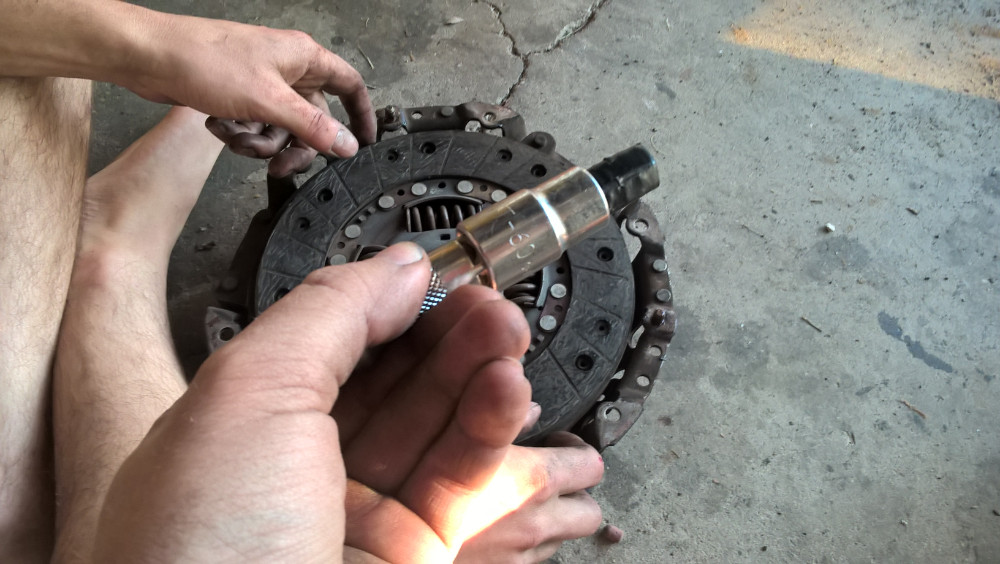
 Once the engine was on the lift the only thing left to install was the clutch. After that we could put it in the truck again. The existing clutch wasn’t in bad shape, so he decided to reuse it. There should be a pattern forming here now… we didn’t have a clutch alignment tool either. I noticed that the T60 socket we had was the same size as the center of the clutch but the Torx tip was slightly too small. I wrapped it in a little bit of electrical tape and stuck an extension in the back and the tool worked perfectly!
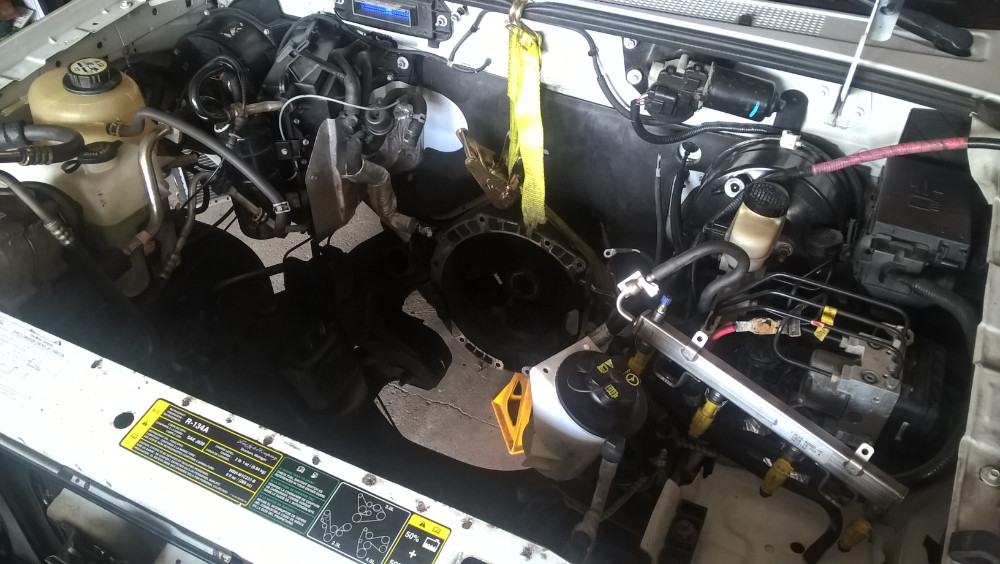
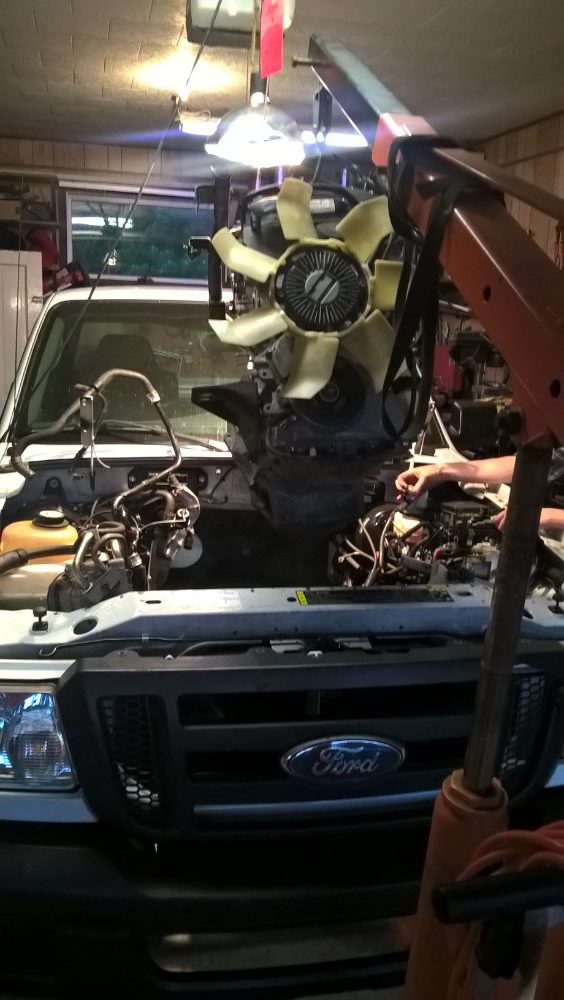
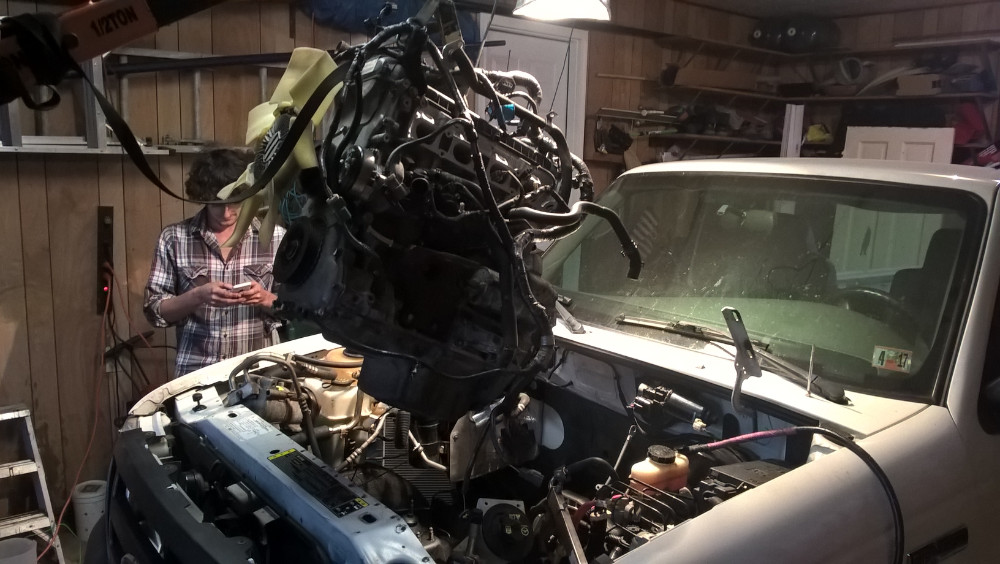
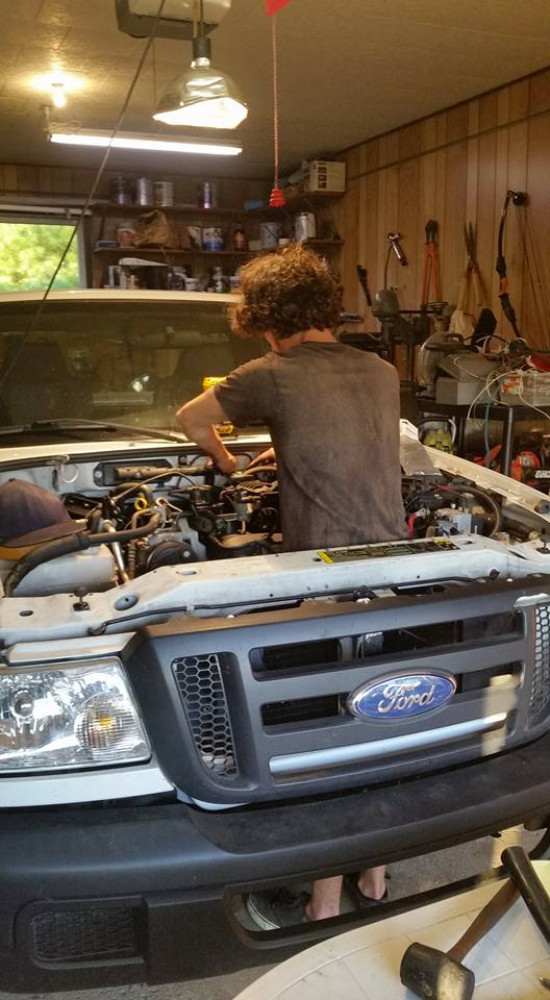
Once we got the engine in the car I had to check out for the weekend. The full assembly took about a day, and the installation back into the car took about a day to its first startup. During work the next day I received the photo to the right, and it is probably my favorite unexpected photo to date. This is also testament to how much space is under the hood when the radiator isn’t installed.
I am very happy I was able to help out with this project, learned a lot, and can cross one more goal off of my list!